How to Upload SSH Public Keys to a Genesis Cloud Console Dashboard
Print
Created by: Keyur Panchal
Modified on: Mon, 21 Oct, 2024 at 1:58 PM
This article explains how to upload your SSH public keys to the Genesis Cloud Console Dashboard.
Once you have created an SSH key pair, you can upload your SSH public key to the Genesis Cloud Console Dashboard to streamline the process of adding your keys to instances. It is completely safe to share your SSH public key, as it cannot be used to regenerate the SSH private key (which should always remain confidential). The sole purpose of the SSH public key is to validate the identity of the user who holds the corresponding private key.
How to Add a New SSH Key
Open your Genesis Cloud Console Dashboard.
Navigate to the 'Keys & Tokens' section in the left-hand menu.
Under the 'SSH Keys' section, click the 'Add new key' button. A new pop-up window will appear.
Copy the content of your public key (which typically ends with .pub) and paste it into the 'Public Key' section of the pop-up window.
In the second field, enter a name for the key to help you identify it in the Genesis Cloud Console Dashboard.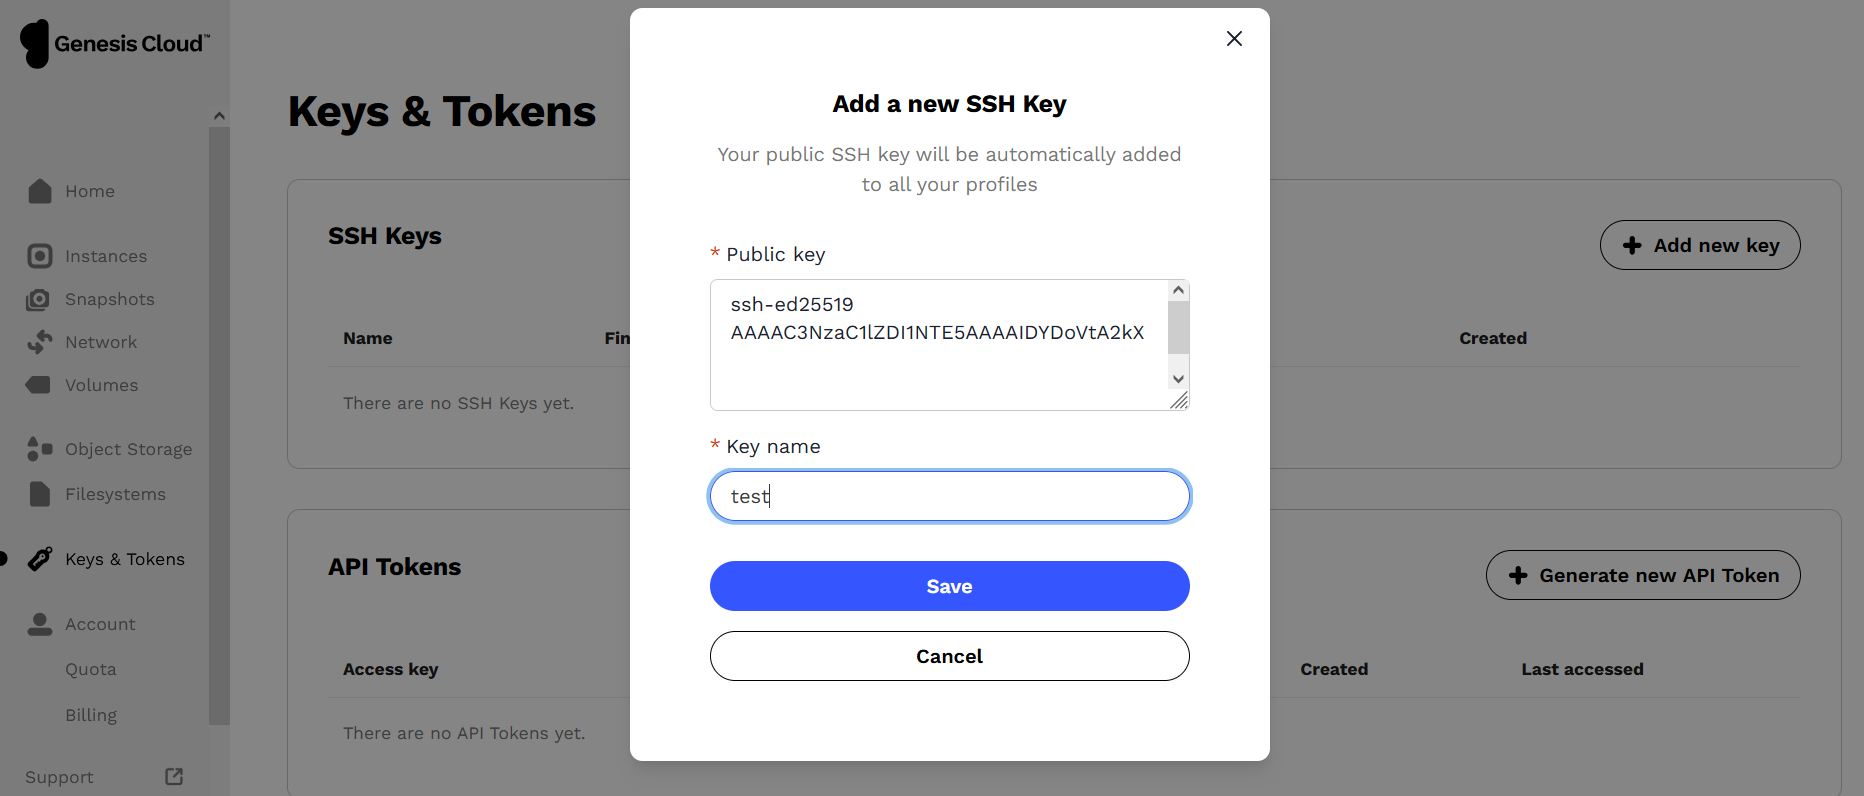
Click 'Save' when done. Your public SSH key will now appear under the 'SSH Keys' section.
When you create a new instance, you can automatically add this key and use it to access the instance.
Optional: Edit / Delete Key
You can also edit or delete your public key. To do this, click on the three horizontal dots on the right-hand side of the SSH key. You will see two options: (1) Edit, and (2) Delete. These options allow you to either rename or delete the key.
Keyur is the author of this solution article.
Did you find it helpful?
Yes
No
Send feedback Sorry we couldn't be helpful. Help us improve this article with your feedback.